Microchallenge 3
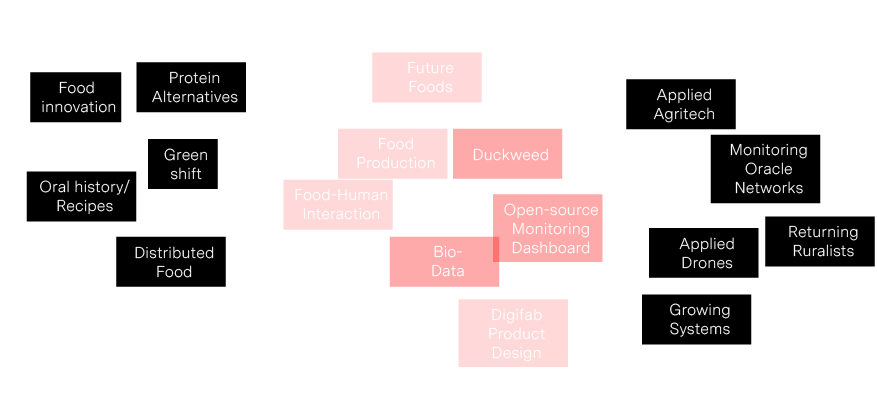
With Vikrant the third challenge comprised the developement from the Duckweed Incubator from Term 1 to a Distributed and Independent Monitoring Sysytem.

Purpose
Since a few weeks I've been lurking the Chainlink oracle community space in which software developers and other distributed-design related people are constructing DAO's and smart contracts for real-life data applications. Within lemna I was attempting to approach this from a more digifab perspective. The core aim was to monitor the health for the Duckweeed plants so that athey could be grown in a healthy efficient way, to control the nutrition and strains of protiens grown, for consumption in the later stage. The same system could be used my multiple individuals for any plants or mediums be it, aquatic plants, terrestrial plants or even compost.
Planning
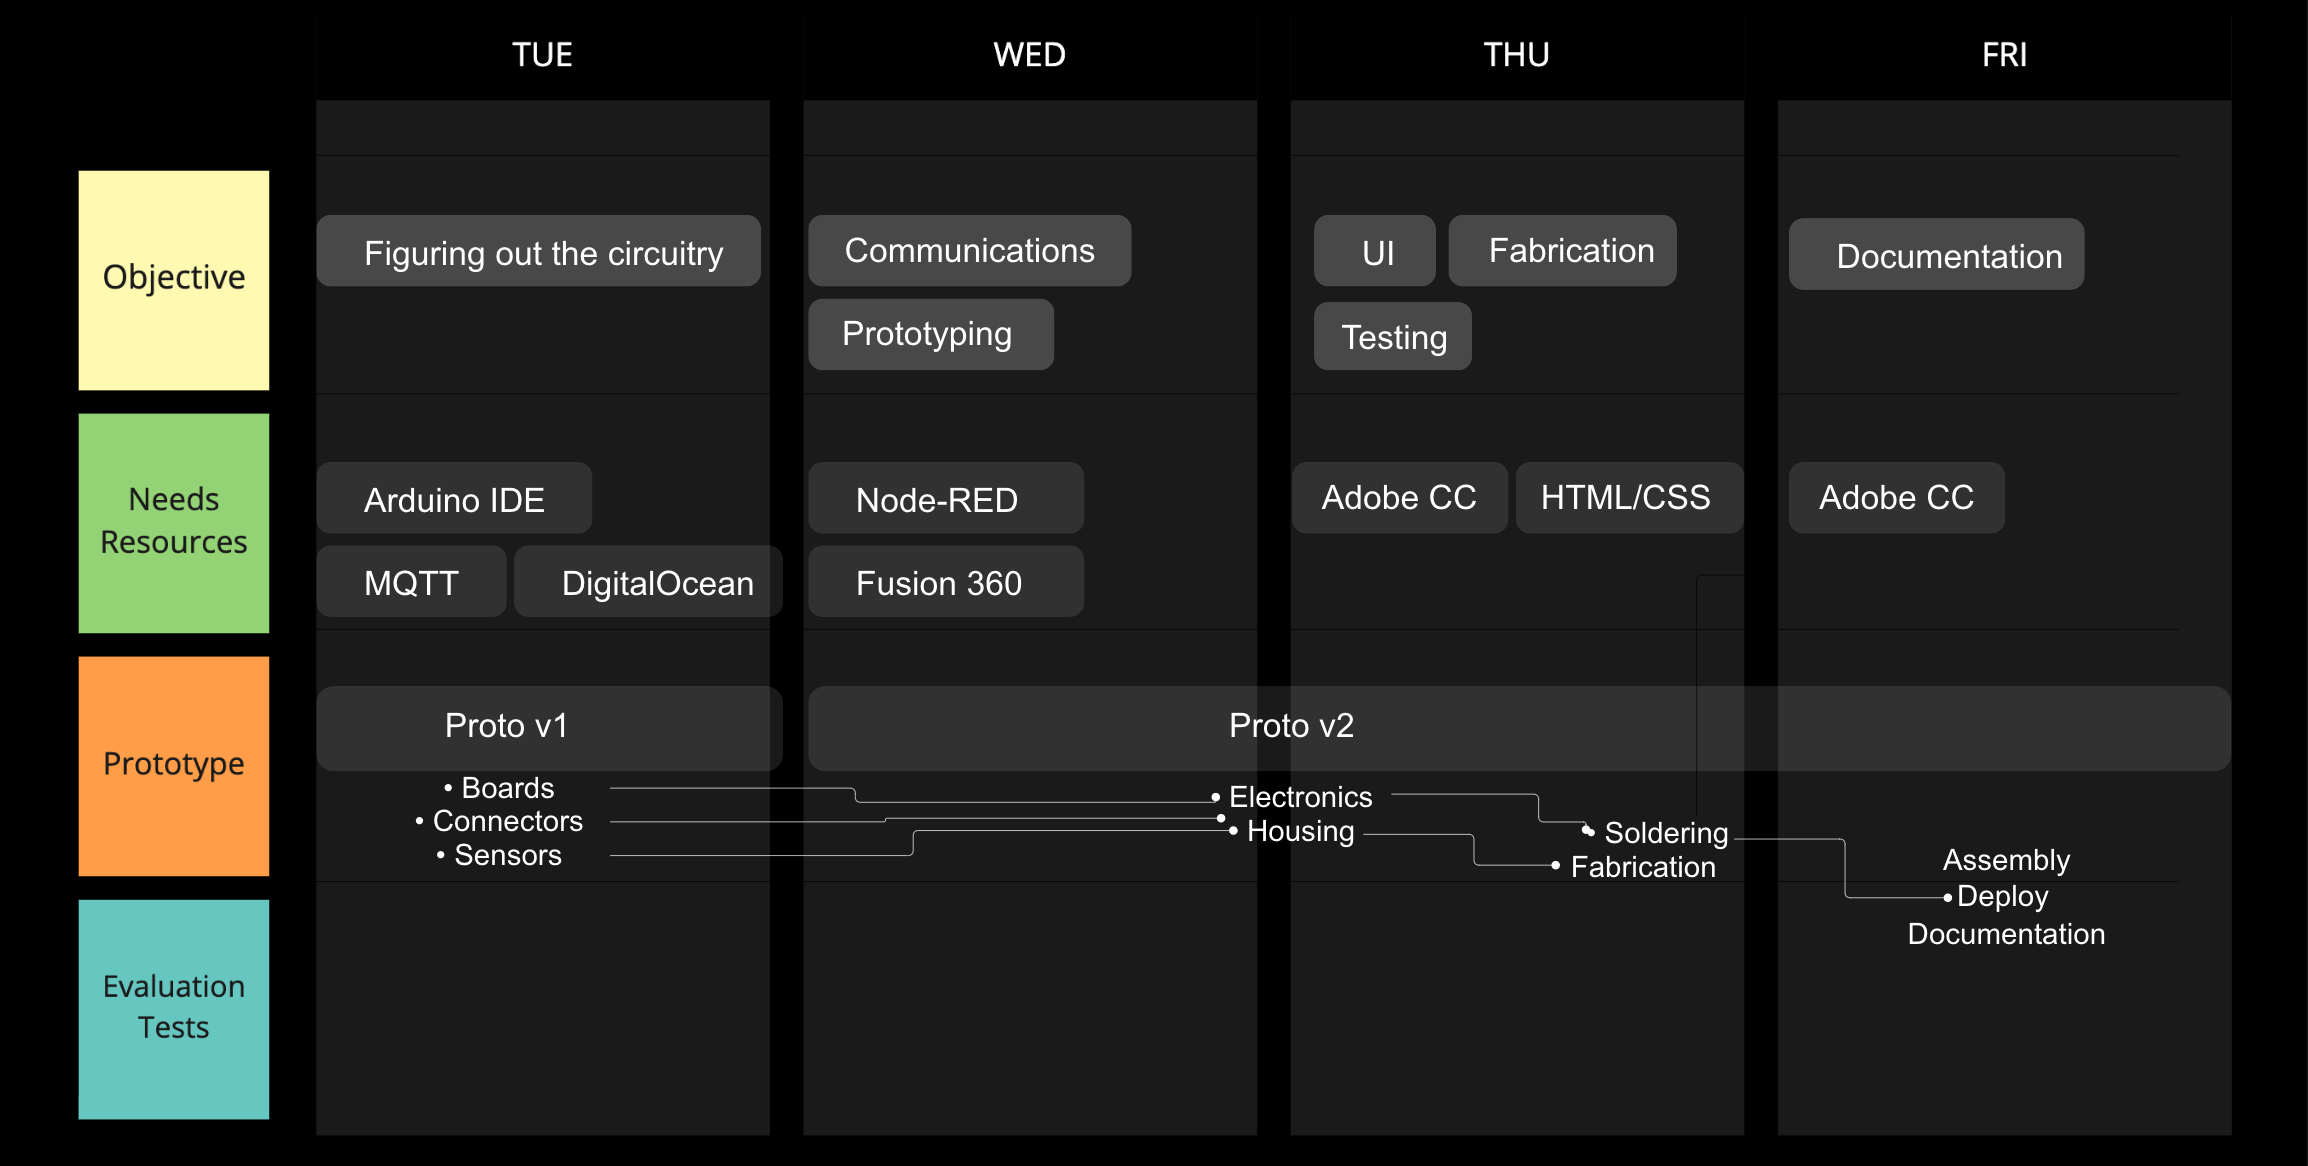
We had a more or less clear way to execute the artifact, taking into considerations the different steps of the process that would need to be assembled eventually.
My responsibilities included the communication protocol, 3D CAD design and electronic design in which I was helped a lot by Mikel Llobera. I soldered and assembled the device after multiple iterations. Overall Vikrant focussed on conceptual development, prototyping and documentation. This division worked naturally and complementary as we both were flexible in lending support during tough steps.

- First day was dedicated to identify the concept and start figuring out circuitry and required components.
- Second day focussed further on hardware plus communication protocol.
- Third day is to finalize electronics, arrange the user interface, run tests and start documentation.
- Fourth day is for tuning, synchronizing the artifact and documenting.
Process
Circuitry evolution
The electronics were powered by an ESP32 Huzzah microcontroller and a 5V USB input supporting the form factor and modes of connectivity. The evolution of the circuit occured in phases, with addition of one sensor at a time; starting with Temperature sensor to the Moisture sensor at last.

Code
The assembled code as executed on the ESP32 by a Arduino IDE sketch consisting of the wifi- and MQTT-setup and sensor inputs is stated below.
                    #include
                        #include
                        #include
                        #include
                        #include "DHT.h"
                        #define DHTPIN 21
                        #define DHTTYPE DHT11


                        //Wifi setup
                        const char* ssid = "Iaac-Wifi";
                        const char* password = "EnterIaac22@";
                        const char* mqtt_server = "167.99.44.189";

                        WiFiClient espClient;
                        PubSubClient client(espClient);


                        //Temperature probe setup
                        OneWire oneWire(14);
                        DallasTemperature tempSensor(&oneWire);
                        float MT;
                        float MM;


                        const int DHTPin = 21;
                        const int lamp = 23;


                        // Initialize DHT sensor.
                        DHT dht(DHTPin, DHTTYPE);


                        // Timers auxiliar variables
                         long now = millis();
                         long lastMeasure = 0;

                        void setup_wifi() {
                          delay(10);
                          // We start by connecting to a WiFi network
                          Serial.println();
                          Serial.print("Connecting to ");
                          Serial.println(ssid);
                          WiFi.begin(ssid, password);
                          while (WiFi.status() != WL_CONNECTED) {
                            delay(500);
                            Serial.print(".");
                          }
                          Serial.println("");
                          Serial.print("WiFi connected - ESP IP address: ");
                          Serial.println(WiFi.localIP());
                        }

                        void callback(String topic, byte* message, unsigned int length) {
                          Serial.print("Message arrived on topic: ");
                          Serial.print(topic);
                          Serial.print(". Message: ");
                          String messageTemp;

                          for (int i = 0; i < length; i++) {
                            Serial.print((char)message[i]);
                            messageTemp += (char)message[i];
                          }
                          Serial.println();

                          if(topic=="air/lamp"){
                              Serial.print("Changing Room lamp to ");
                              if(messageTemp == "on"){
                                digitalWrite(lamp, HIGH);
                                Serial.print("On");
                              }
                              else if(messageTemp == "off"){
                                digitalWrite(lamp, LOW);
                                Serial.print("Off");
                              }
                          }
                          Serial.println();
                        }


                        void reconnect() {
                          // Loop until we're reconnected
                          while (!client.connected()) {
                            Serial.print("Attempting MQTT connection...");
                            // Attempt to connect

                            if (client.connect("ESP8266Client")) {
                              Serial.println("connected");
                              // Subscribe or resubscribe to a topic
                              // You can subscribe to more topics (to control more LEDs in this example)
                              client.subscribe("air/lamp");
                            } else {
                              Serial.print("failed, rc=");
                              Serial.print(client.state());
                              Serial.println(" try again in 5 seconds");
                              // Wait 5 seconds before retrying
                              delay(5000);
                            }
                          }
                        }


                        void setup() {


                          // LED output?
                          pinMode(lamp, OUTPUT);
                          dht.begin();

                          Serial.begin(115200);
                          setup_wifi();
                          client.setServer(mqtt_server, 1883);
                          client.setCallback(callback);


                            Serial.println("Dallas Temperature IC Control Library Demo");
                          //sensors.begin();

                        }


                        void loop() {
                          // Moisture Media Sensor
                              Serial.print("Moisture Sensor Value:");
                              Serial.println(analogRead(A3));
                              delay(100);
                              MM = analogRead(A3);

                          // Phototransistor
                              int value = analogRead(33);
                              int perValue = map(value,0,1024,0,100);
                              Serial.println("Phototransistor: ");
                              Serial.println(value);
                              delay(50);


                          // Temperature Media probe
                              MT = tempSensor.getTempCByIndex(0);
                              tempSensor.requestTemperaturesByIndex(0);
                              Serial.print("Media Temperature: ");
                              Serial.print(tempSensor.getTempCByIndex(0));
                              Serial.println(" C");
                              delay(50);


                            if (!client.connected())
                              reconnect();
                              client.loop();
                              long now = millis();
                              if (now - lastMeasure > 50) {
                              lastMeasure = now;
                              float h = dht.readHumidity();
                              float t = dht.readTemperature();
                              float f = dht.readTemperature(true);

                              // Check if any reads failed and exit early (to try again).
                              if (isnan(h) || isnan(t) || isnan(f)) {
                                Serial.println("Failed to read from DHT sensor!");
                                return;
                              }

                              float hic = dht.computeHeatIndex(t, h, false);
                              static char temperatureTemp[7];
                              dtostrf(hic, 6, 2, temperatureTemp);
                              static char humidityTemp[7];
                              dtostrf(h, 6, 2, humidityTemp);
                              static char mediatemperatureTemp[7];
                              dtostrf(MT, 6, 2, mediatemperatureTemp);
                              static char mediamoistureMois[7];
                              dtostrf(MM, 6, 2, mediamoistureMois);
                              static char lightLight[7];
                              dtostrf(perValue, 6, 2, lightLight);

                          // Publishes Temperature and Humidity values
                              client.publish("air/temperature", temperatureTemp);
                              client.publish("air/humidity", humidityTemp);
                              client.publish("media/temperature", mediatemperatureTemp);
                              client.publish("air/light", lightLight);
                              client.publish("media/moisture", mediamoistureMois);

                              Serial.print("Aerial Humidity: ");
                              Serial.print(h);
                              Serial.print(" %\t Aerial Temperature: ");
                              Serial.print(t);
                              Serial.print(" *C ");
                              Serial.print(f);
                              Serial.print(" *F\t Heat index: ");
                              Serial.print(hic);
                              Serial.println(" *C ");
                              }
                        }
Fabrication
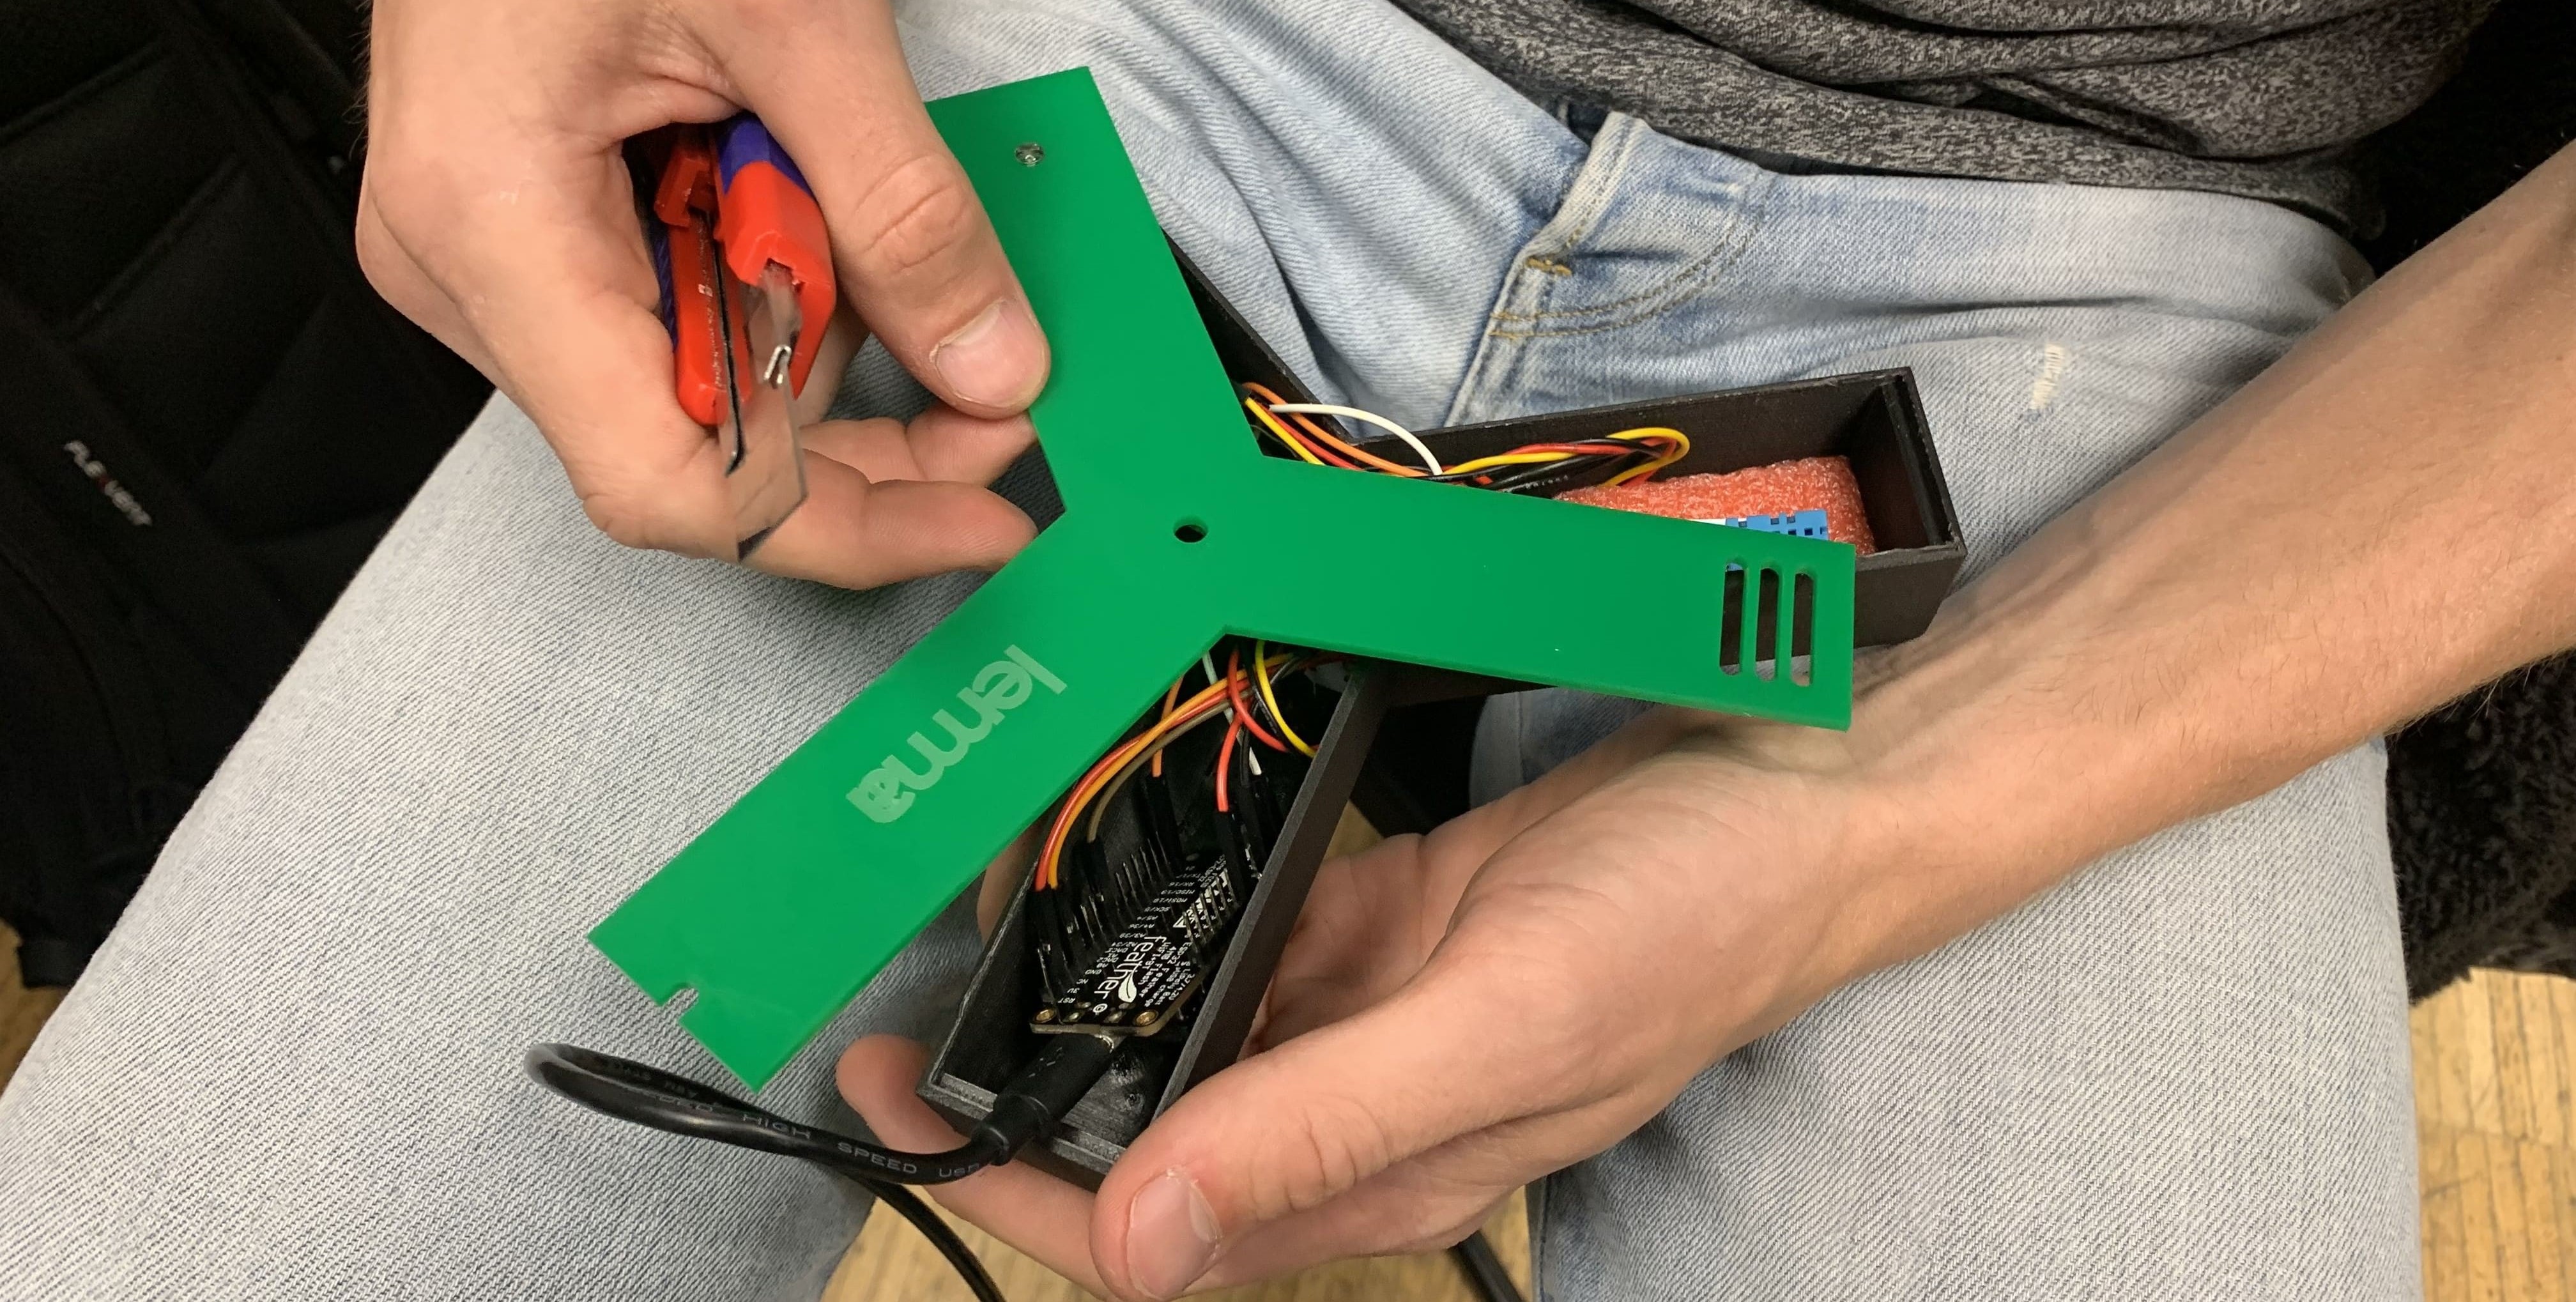
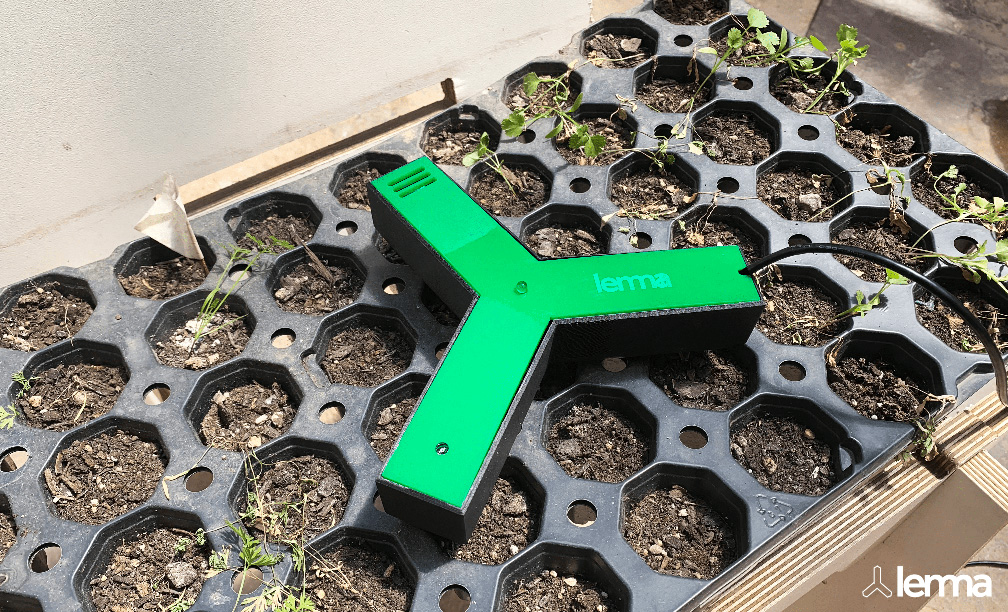
The cap of the housing was lasercut out of green 3mm acrylic sheet. The shape holds the phototransistor in place and has holes for both the LED and USB input-cable. The open grid serves for the DHT11 sensor.
Assembly
The soldered wiring setup fit inside the 3D printed housing and guided to it's designated positions.

Repository
We created a repo of the microchallenge that shows the process in more detail and provides all related working files.
Results
The interactive dashboard can be accessed at: 167.99.44.189:1880/ui/ when active.
- Learnings:
- Exploring MQTT and Data Management.
- (Hardware) boundaries of ESP8266 and ESP32.
- Structuring and combining multiple Sketches/codes together.
- Controlling and distributing voltage across components through the same microcontroller.
- Intra-communication accross microcontollers.


Points of attention for further proceedings:
- Exploring MQTT and Data Management.
- (Hardware) boundaries of ESP8266 and ESP32.
- Structuring and combining multiple Sketches/codes together.
- Controlling and distributing voltage across components through the same microcontroller.
- Intra-communication accross microcontollers.